Mint our NFT
We don't have a UI yet (see the next guide!), so a simple way to test out our contract is to mint via the command line via cast. We'll use our deployer account, since we already have its key in our keystore.
Get Sepolia PYUSD
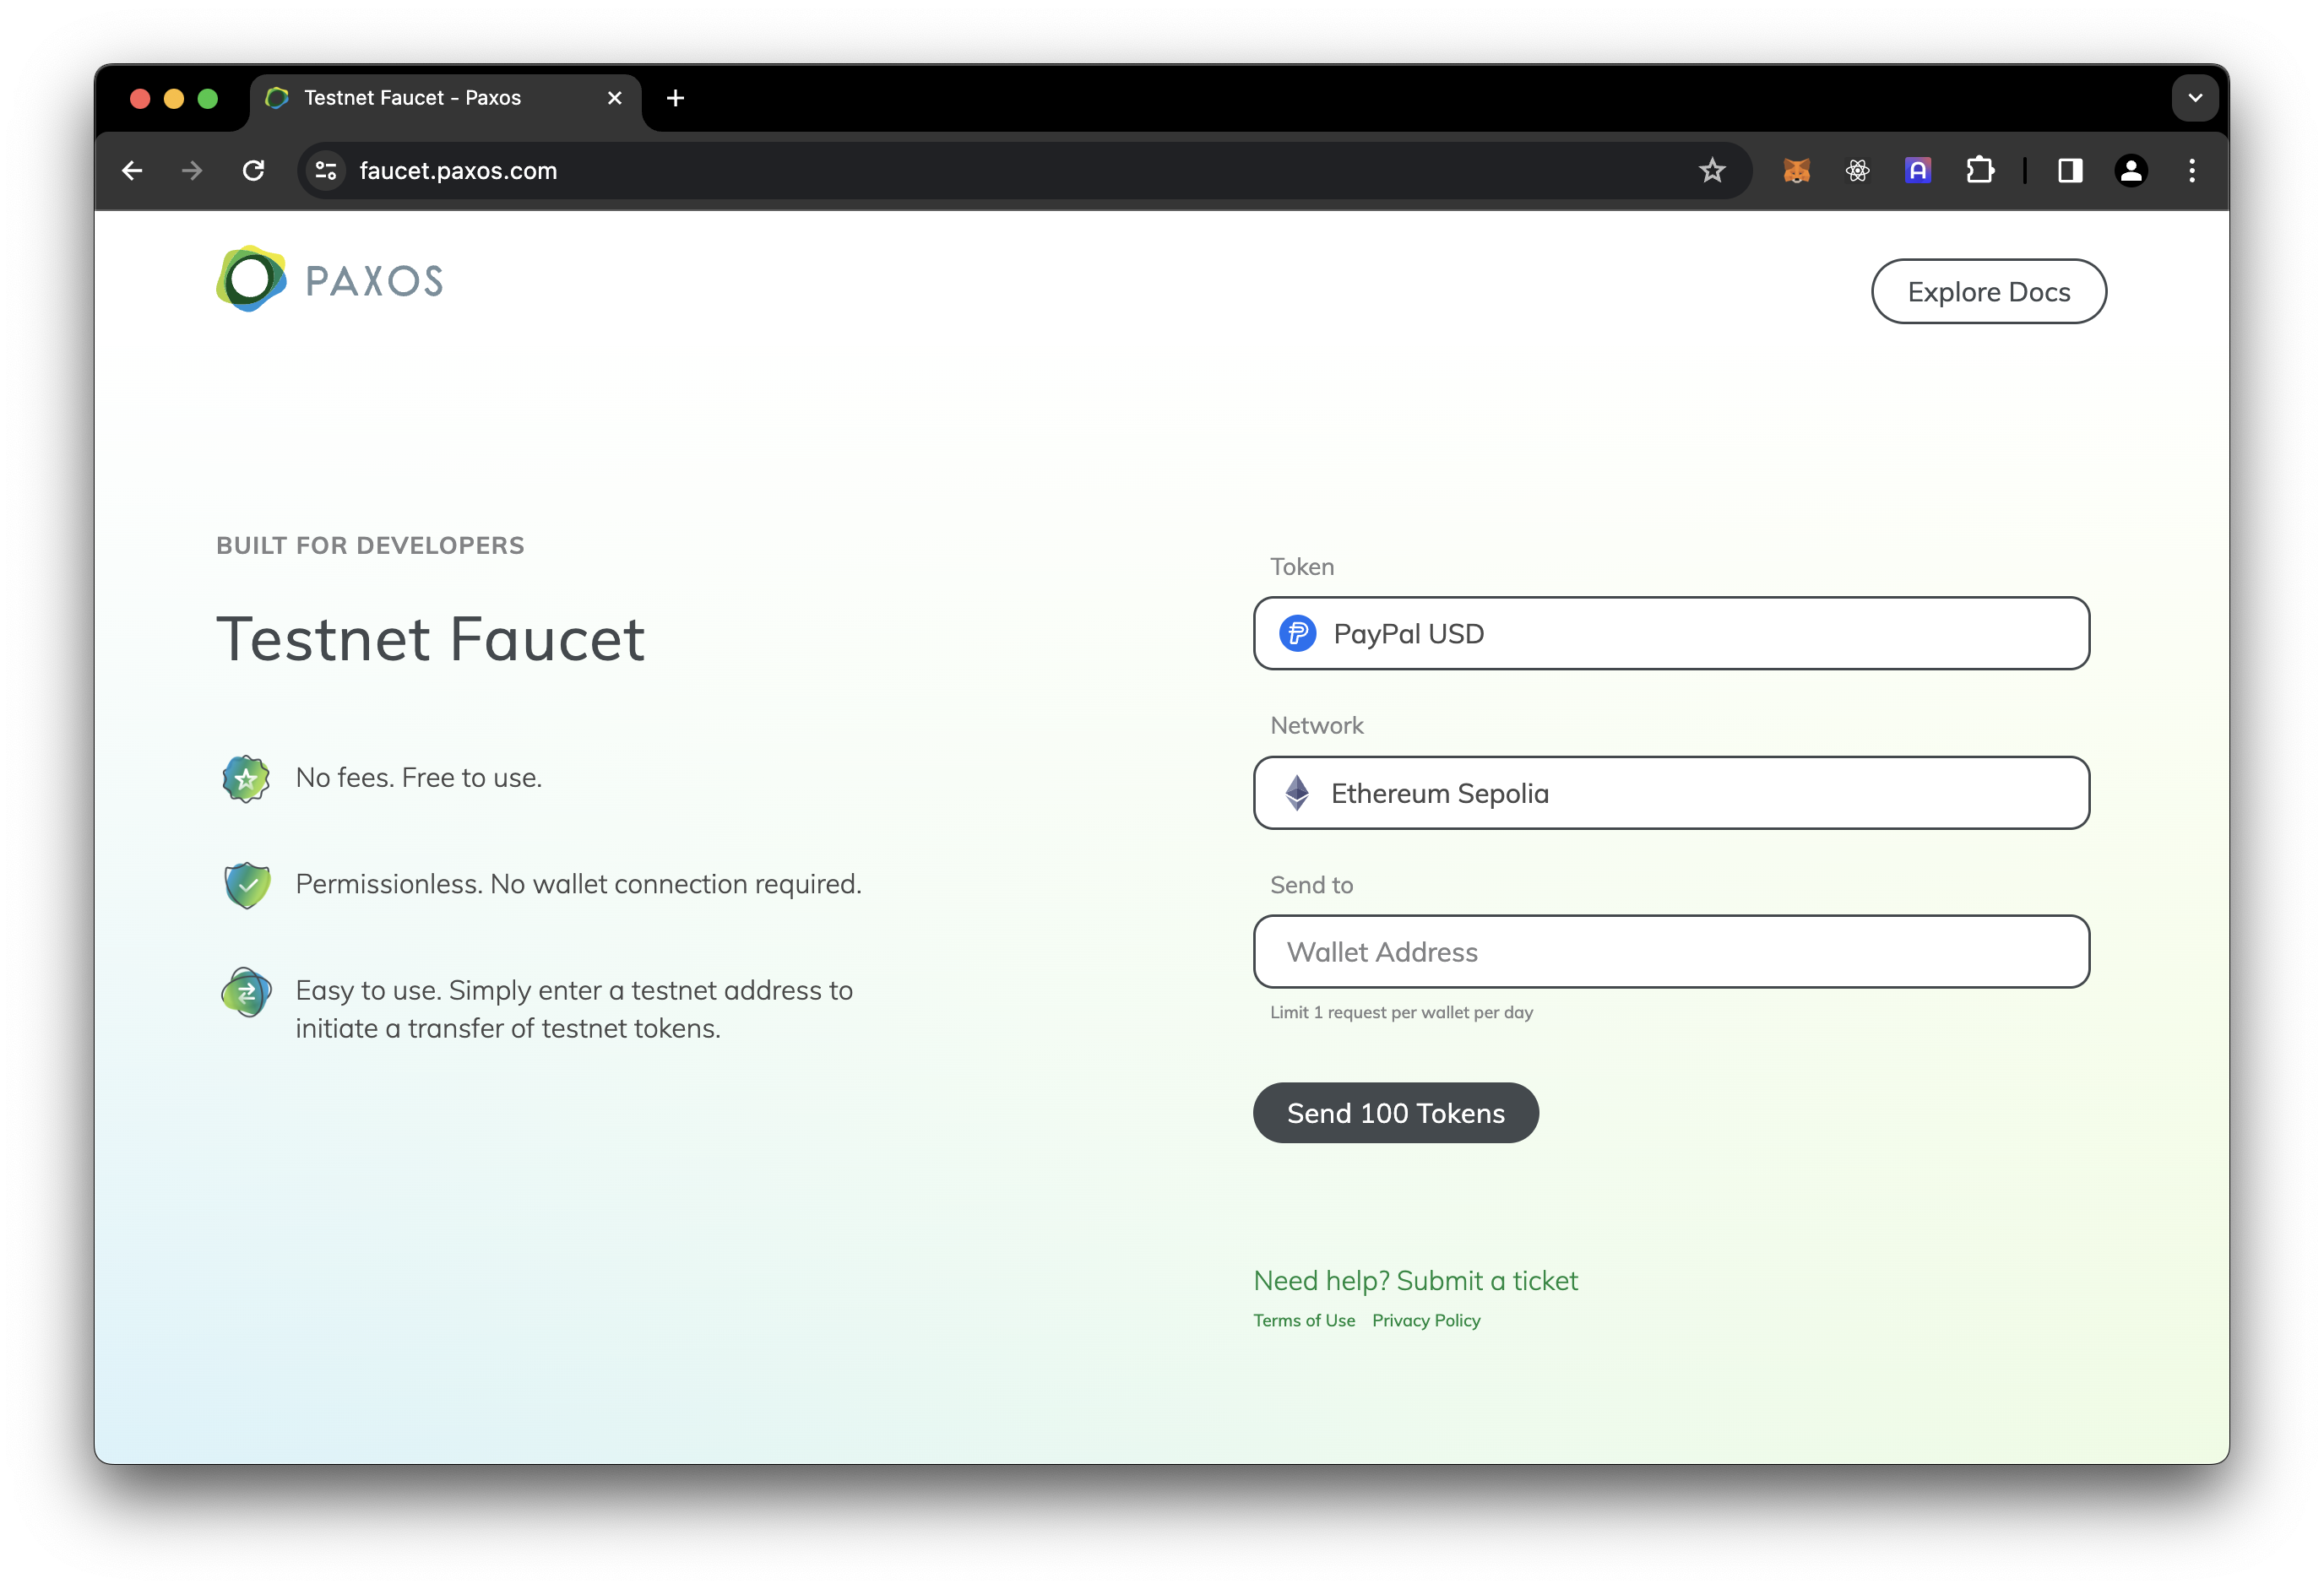
We need some PYUSD on the Sepolia network. Visit the Sepolia PYUSD Faucet:

Enter the deployer address you created in the last section.
Check your Sepolia PYUSD balance:
cast call --rpc-url sepolia \
  0xCaC524BcA292aaade2DF8A05cC58F0a65B1B3bB9 \
  "balanceOf(address)" 0x222256573674aefe5A38eB358e076aE90E3Be9Ea \
  | cast to-dec
(use your own deployer address instead of the 0x2222 address above)
Check the mint price
Remember the mint price we set? Let's go retrieve it from our contract:
cast call --rpc-url sepolia 0x4F3Fcba5af502c8c5A4274FA71e9d07eB0bdf099 "mintPrice()" | cast to-dec(use your own contract address here, or you can use the above deployed one)
Here we're making the mintPrice() call to our contract, and we're piping it through the cast to-dec formatter to format the result nicely.
We get back a result of 1000000, which is 1 PYUSD. So far so good!
Approve HelloPYUSD to spend some PYUSD
Let's now tell PYUSD that it is OK if our contract spends our PYUSD:
cast send \
  --keystore keystore/deployer \
  --rpc-url sepolia 0xCaC524BcA292aaade2DF8A05cC58F0a65B1B3bB9 \
  "approve(address,uint256)" \
  0x4F3Fcba5af502c8c5A4274FA71e9d07eB0bdf099 \
  1000000
Similar to above, but this time we're calling the approve function and we're passing arguments: the spender (our HelloPYUSD contract) and the amount (one PYUSD).
Mint!
We can now tell HelloPYUSD to mint! It will transfer our one PYUSD, and in return we'll get a HelloPYUSD NFT.
cast send \
  --keystore keystore/deployer \
  --rpc-url sepolia 0x4F3Fcba5af502c8c5A4274FA71e9d07eB0bdf099 \
  "mint()"
Congrats!
You've written and deployed your own PYUSD-paid NFT, and you've minted via the command line! In the next guide we'll cover writing a frontend that makes calls to the PYUSD smart contract as well as our own HelloPYUSD smart contract.